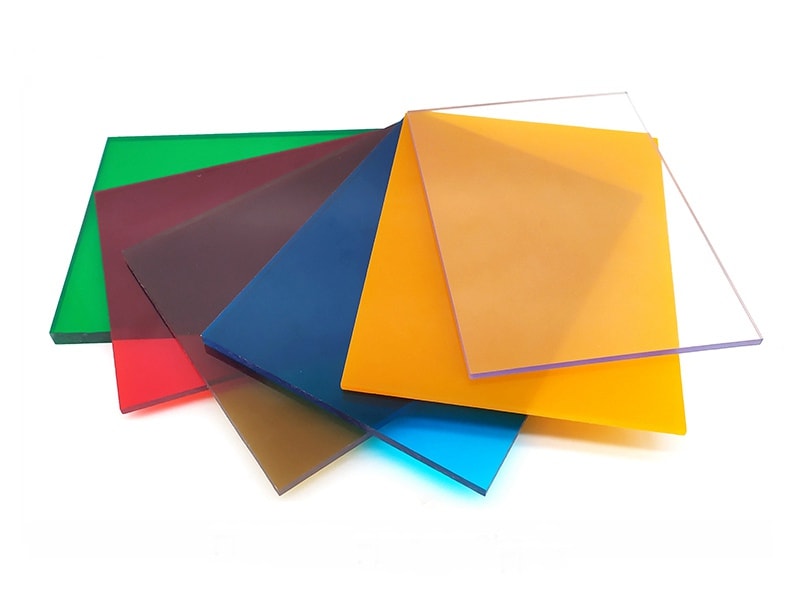
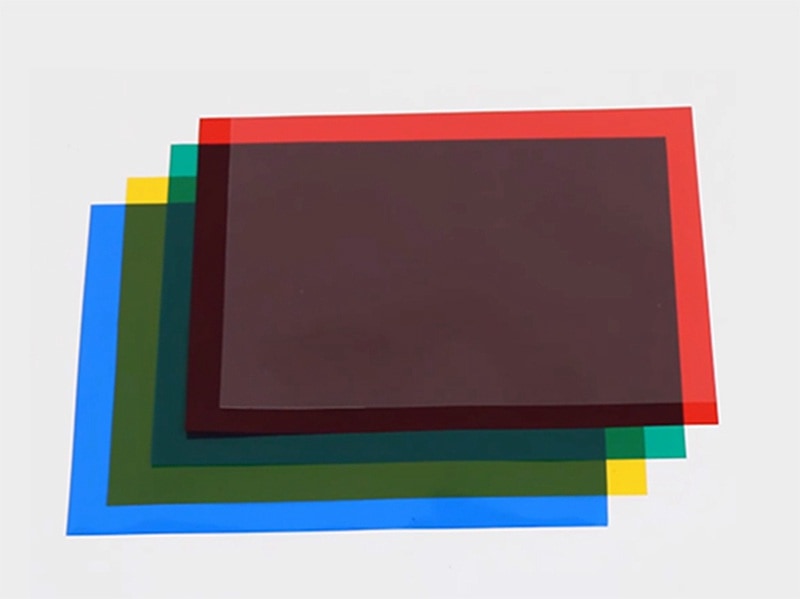
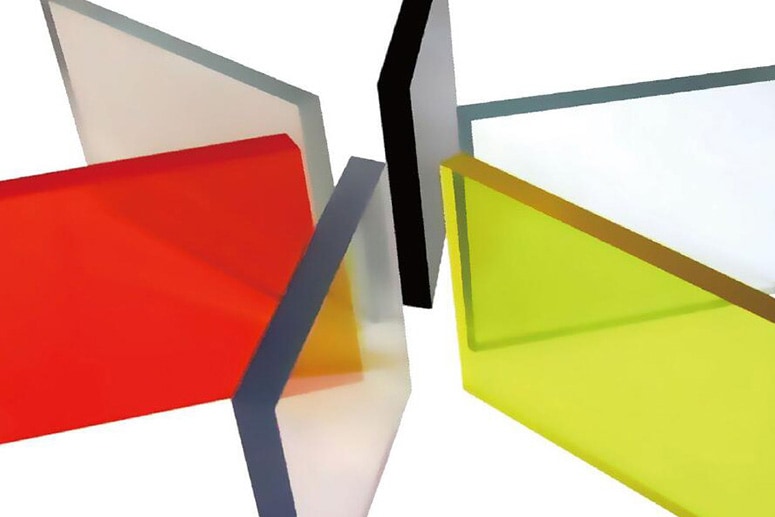
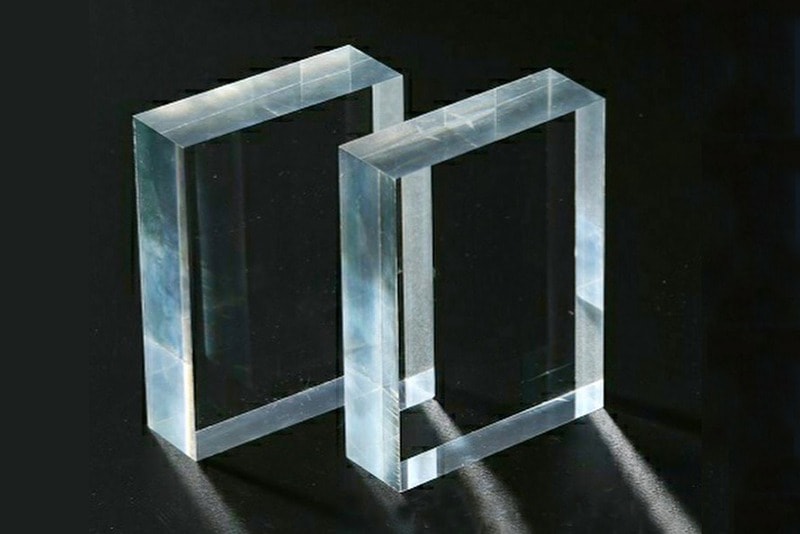
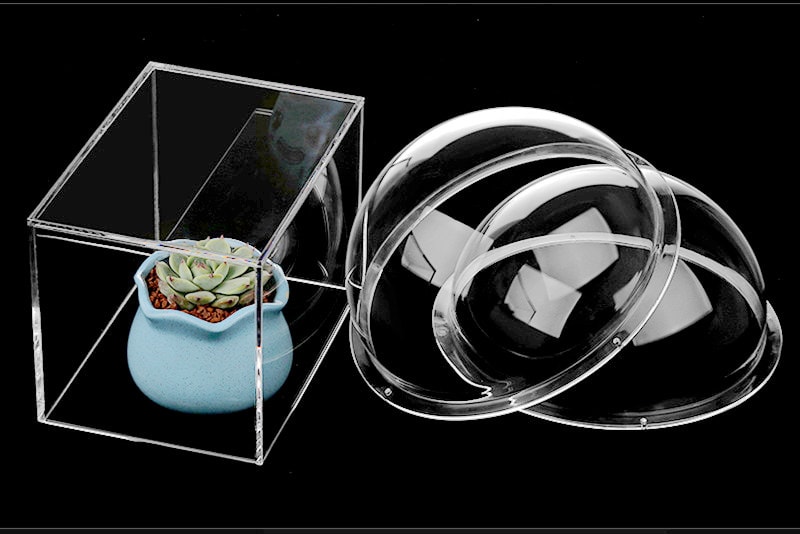
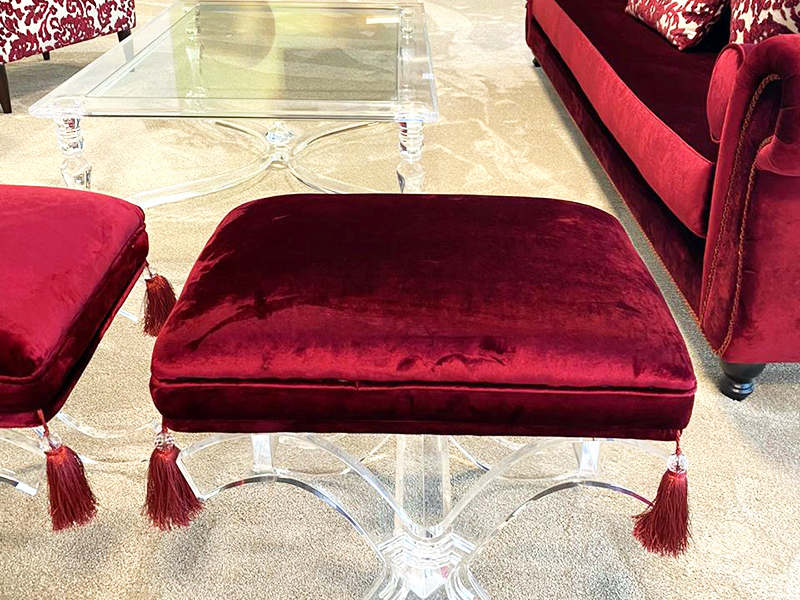
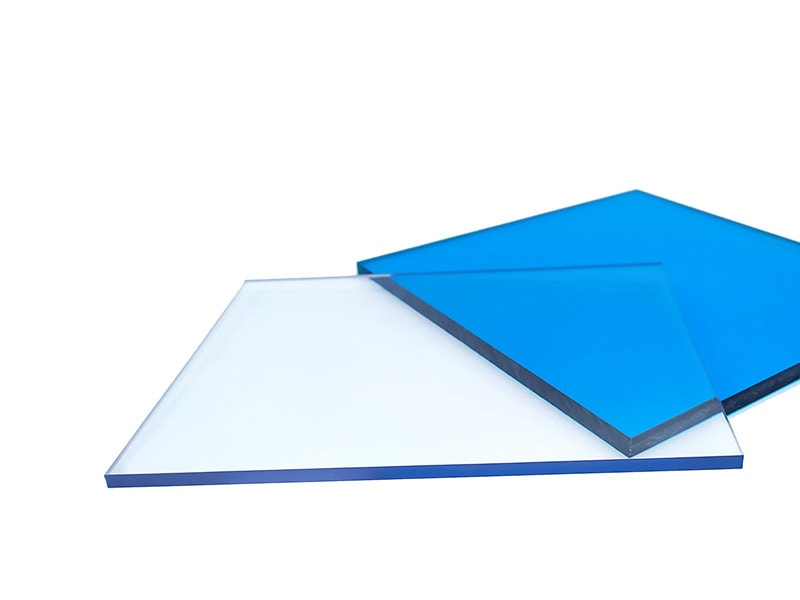
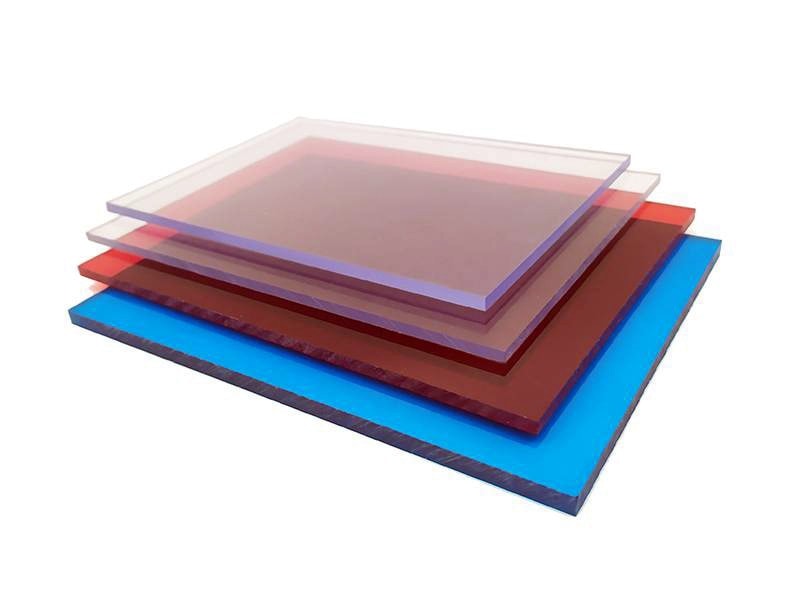
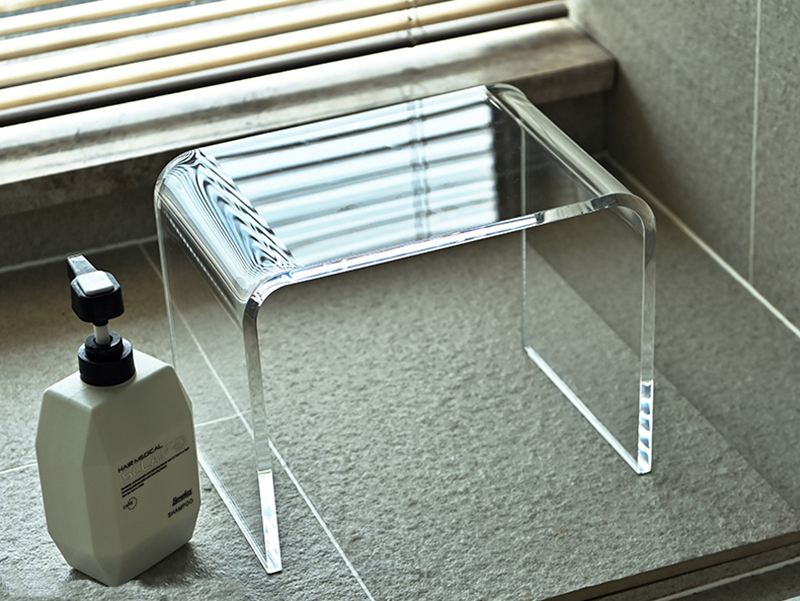
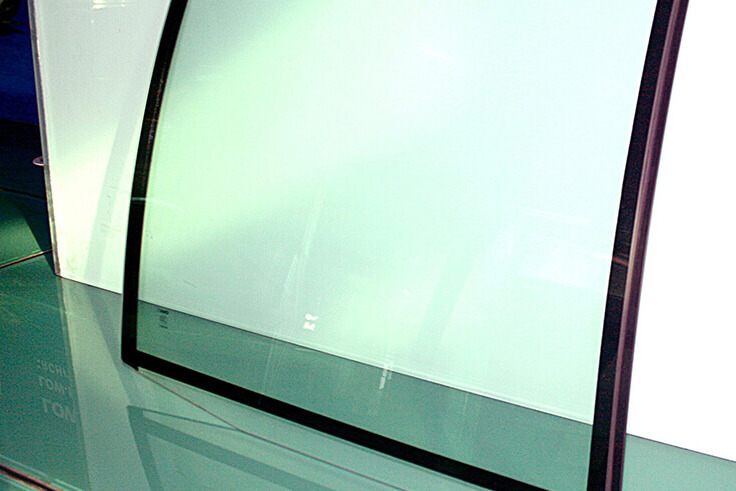
Whether you bought your plexiglass sheet or acrylic for your fish tank, mirror or door glass, or other variety of things, it must perfectly fit the size and shape of your need, right?
If you’re planning on cutting these hard materials with your classic old handsaw, well, DON’T!
Especially for the thicker ones, you don’t want to make a mess by using a handsaw and pretending these are some wood sheets. You’ll learn far better ways of cutting an acrylic sheet today.
If you’re like me, you always go for the easiest solution out there. And today you’re in luck!
In this article, I’ll show you how you can easily cut a plexiglass sheet like it’s butter and you can cut plexiglass by hand.
Precaution
Before cutting plexiglass, you need to make sure you’re taking appropriate precautions.
Let’s Cut Some Sheets, Shall We?
Method 1: Cutting with a scoring knife
This is the easiest method by far, and you can do it without any heavy tools or prior experience. But we do need some tools for this to work.
Necessary tools:
Now that you have all the necessary items, it’s time to work.
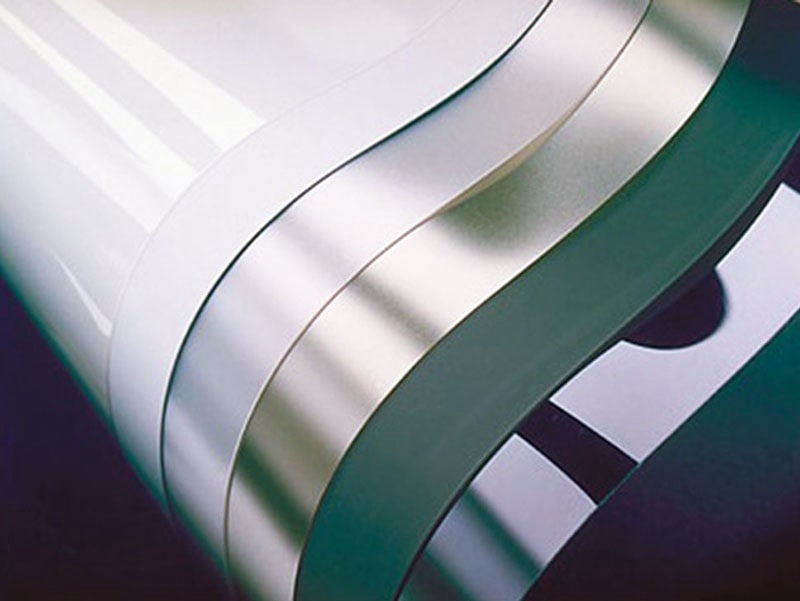
If you want to cut acrylic film, a scoring knife will be a good tool.
Step 1: Place the acrylic on your workbench and measure accurately with a scale or ruler, and draw the lines where you want to cut the sheet.
Step 2: After marking is done, line up your ruler with the mark. Do not put the ruler right over the line as you need to make sure the cutter or blade can run precisely over the target.
Step 3: Get your scoring knife or cutter and gently run the sharp edge over the mark multiple times. Depending on the thickness, you may want to do it 6-12 times.
Do not try too hard with the blade, the goal is to scratch the sheet and not cut directly. Try to be precise every time you run your scoring blade on the mark.
Step 4: After making a deep scratch on the mark, roll over the sheet, and do the same process on the other side. Make sure the score is in the same place on both sides.
If your sheet is thinner than ¼ inch, scoring on one side should be enough.
Step 5: Now that both sides have been scored, it’s time to snap the acrylic piece. To do that, put the sheet on your surface edge and apply pressure on one side by hand or clamp.
Make sure that the table or workbench edge perfectly aligns with the scored line of the acrylic. Then push or apply quick and even pressure on the overhang side of the acrylic.
Done! The sheet snaps!
Method 2: Cutting with a Jigsaw
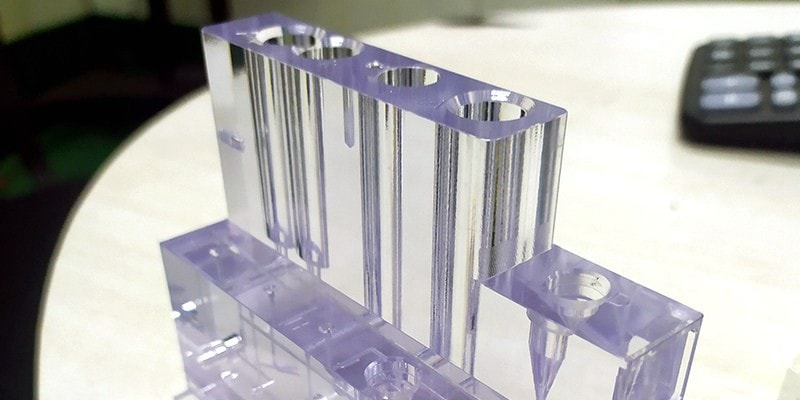
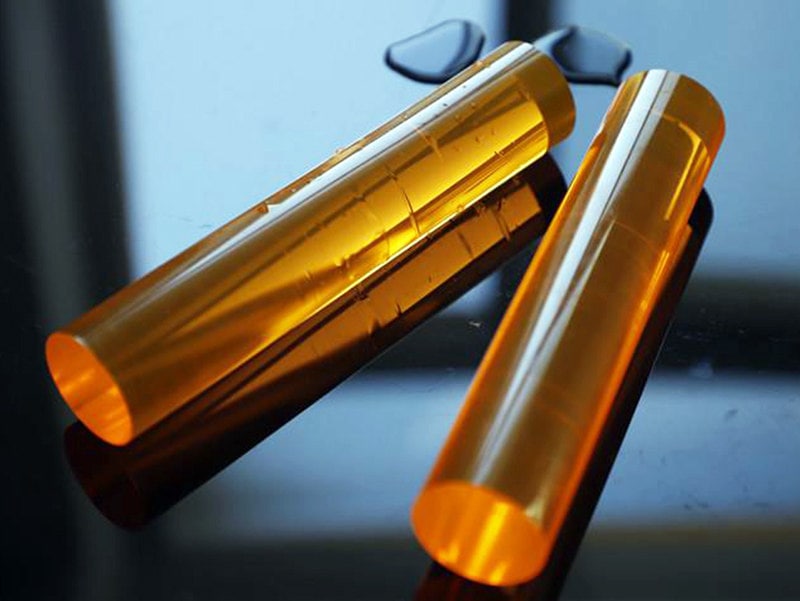
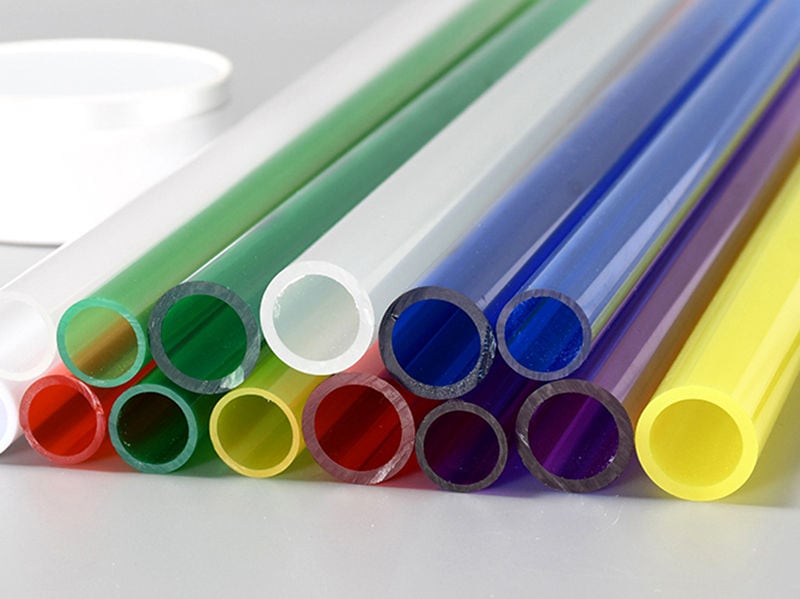
If you want to cut acrylic sheets, acrylic rod, or acrylic tube, or you need to cut it in a nonlinear fashion, the scoring method doesn’t work. It would be best if you had a jigsaw.
Finding a jigsaw shouldn’t be hard, but be sure that you’re using a sharp and fine-toothed blade. It’s best if you can use a blade specially made for plastic cutting.
Jigsaw is best for cutting thick sheets and curves. Let’s see what tools you’ll need to do this:
Let’s Start.
First step: Draw
Draw the lines or shapes you want to cut. Jigsaws can cut in any form or angle, so make sure you’re drawing precisely what you want.
Second step: Clamp
Be sure that both sides of the sheet are fixed with the table and it doesn’t vibrate when you start cutting. Clamps are best to reduce any movement, but you can use any heavy materials on the sheet. Just make sure it doesn’t leave any scratches.
Third Step: Double-check the blade and speed of your jigsaw
This is one of the most crucial steps. Especially if you’re using these tools to cut an acrylic sheet for the first time.
First, check if the blade is in perfect condition and the tooths are evenly spaced. It can have a massive impact on the finishing.
Second, Experiment with speed. The speed of your jigsaw is essential for this process. If you try to cut too fast, your plexiglass can chip or you can miss the desired mark altogether. And if you try to cut too slow, this can generate more heat and melt the plexiglass.
But don’t stress out, you can always use a non-flammable lubricant to reduce the heat or take a break once in a while and use water to cool down the blade. Once you find the right speed that you’re comfortable with, Everything happens naturally.
Fourth step: Saw through
The fun part! Position your jigsaw on top of the glass and start sawing. Be sure that you’re not stuck in an uncomfortable angle where you can’t reach the jigsaw. Always plan how you want to proceed.
If you’re stuck somehow or stretched your hand too much, pull the jigsaw towards you following the line that it went. And then resume with a new and comfortable angle.
Jigsaws are very handy for cutting corners and making shapes. If you need to cut corners, get used to it.
But before using this tool, make sure that you’ve read all the user’s manual that comes with your machine. It would be best if you also experimented a couple of times before actually proceeding with your sheet.
These are the two most commonly used ways of cutting acrylic sheets or plexiglass at home.
But that’s not all. There are some other methods that pros use. Let’s see some of those. Shall we?
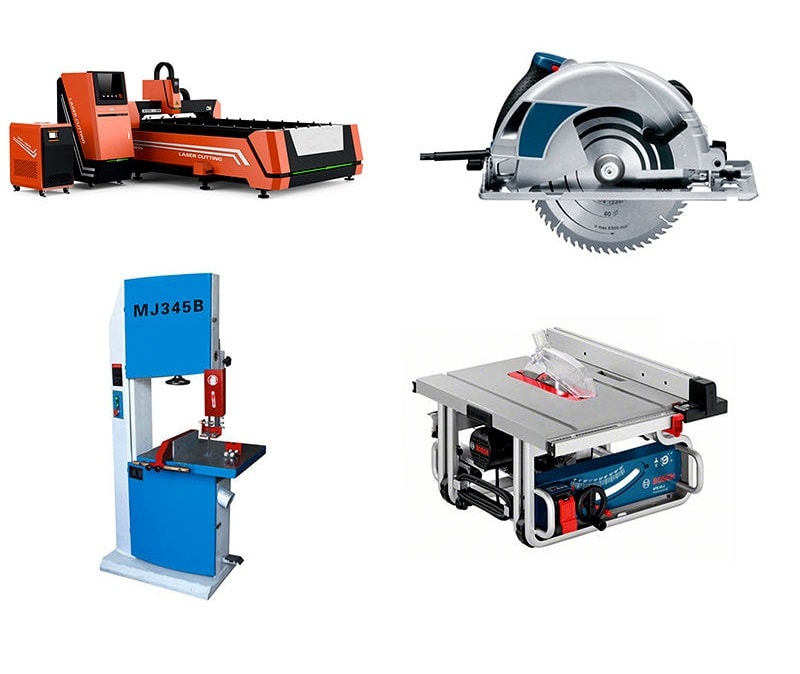
Third Method: Band saw
Now it’s kind of the jigsaw method but a lot easier and more convenient and effective in every way. With a jigsaw, you need to push the machine and run the blades on your line.
With a band saw, the blade is already running on a table from the top. You need to push the sheets towards the blade following the lines you created.
The band saw is the best and most convenient option for cutting unique angles and shapes. Most professionals use this not only for acrylic sheets but also for all other kinds of materials that require edge or corner-cutting.
Fourth method: Table Saw
If you have a table saw and need to cut sheets only in a linear fashion, this couldn’t be any easier. With a table saw, the procedure becomes extremely fast and easy.
Anyone, regardless of their experience, can do the work pretty fast. But you need to make sure your hands do not reach too close to the blade.
One of the table saw’s best parts is that you can cut multiple sheets at the same time by stacking on one another.
Other Cutting Acrylic Methods
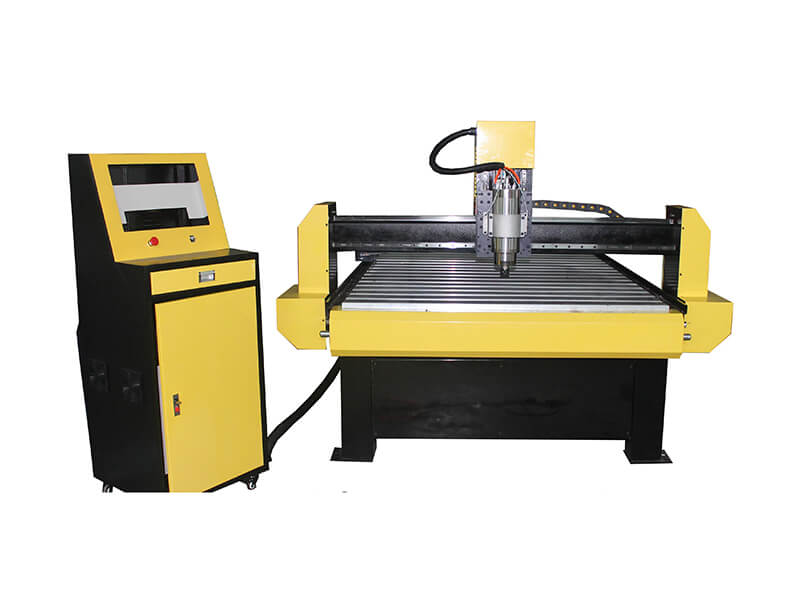
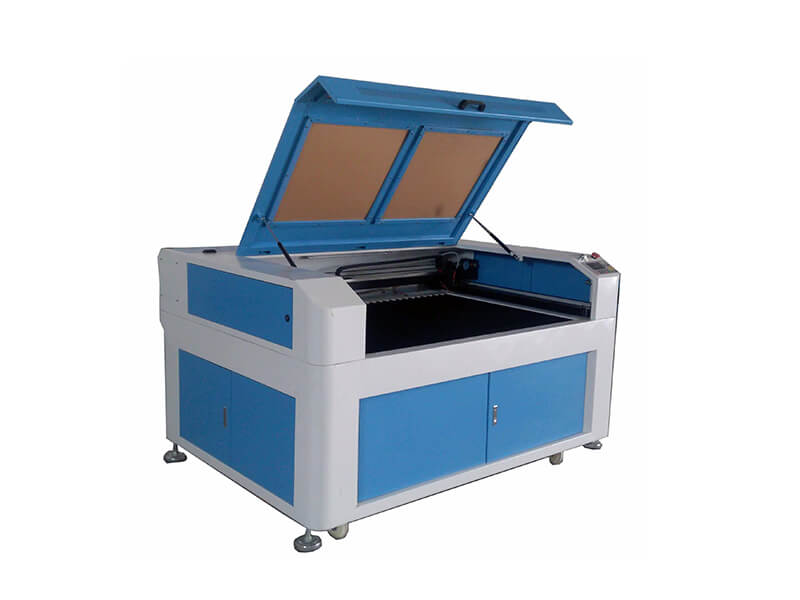
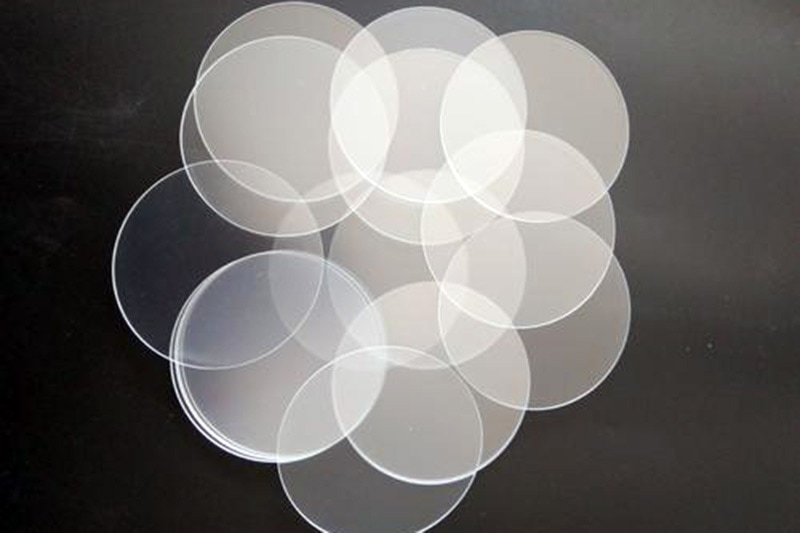
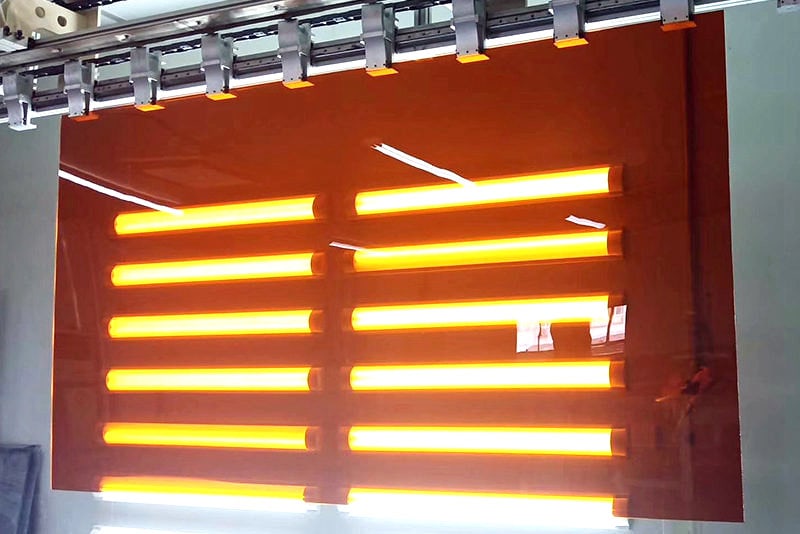
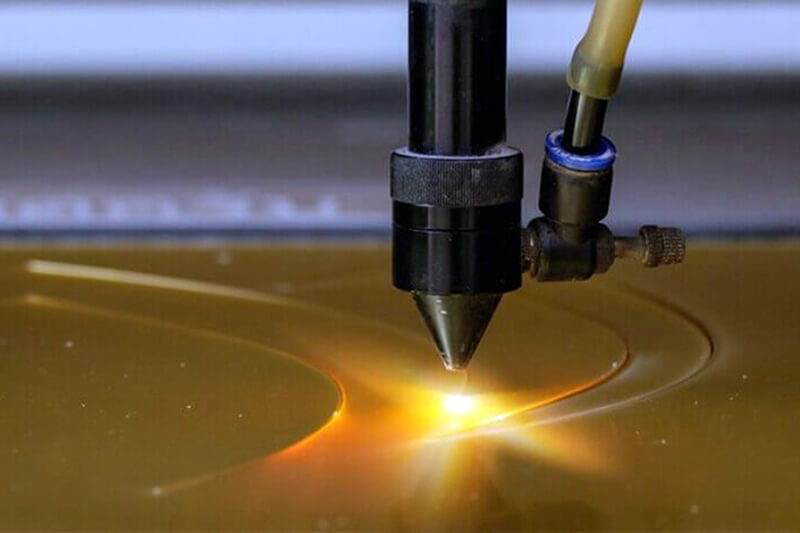
If you have a workshop to cut plexiglass, maybe you need to cut many acrylic sheets every day, you need to have an engraving machine or laser cutting machine. Please see the following videos for cutting acrylic sheets by CNC router and laser.
Related Articles


How do you cut plexiglass at home?
It is the easiest way to cut thin acrylic sheets with 1/8mm, 3/8mm thickness by yourself at home, you can use a knife on the top surface and bottom surface, it is the best cost performance.
The Ending
So this is how you can cut an acrylic sheet or plexiglass at home. If you need any further information, we’re always here to help.
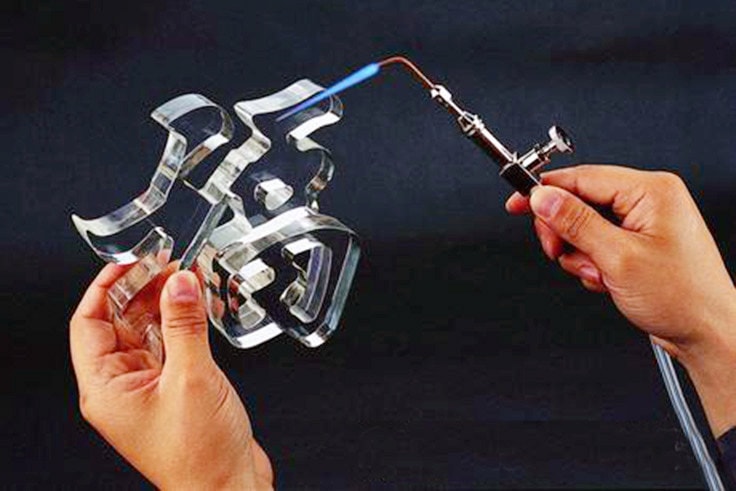
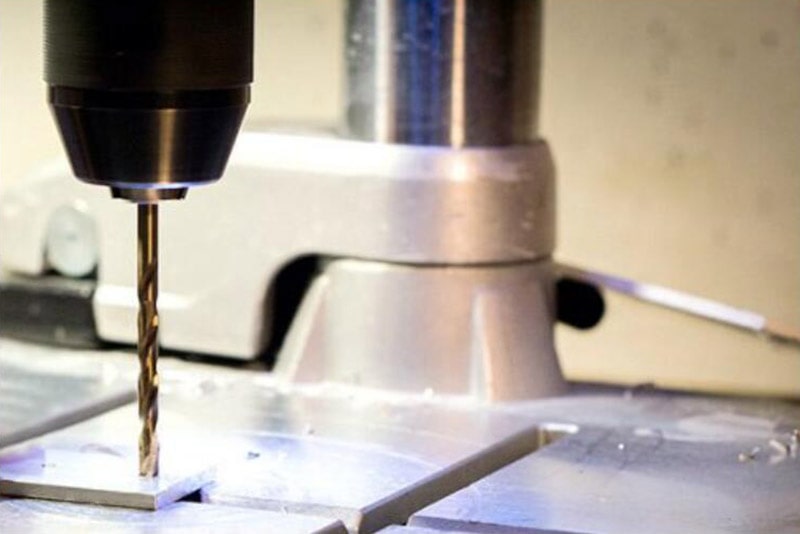
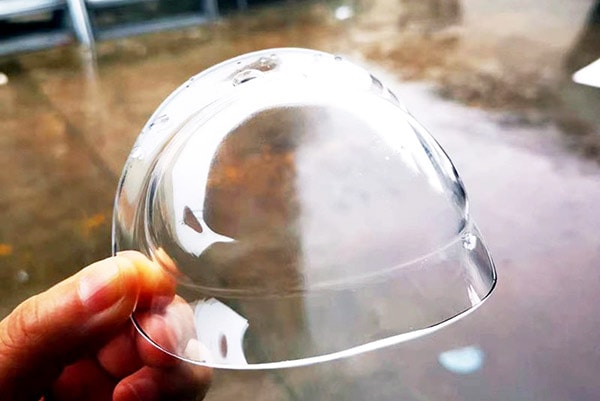
And if you want a detailed guide on how to polish, drill, mold, glue, or bend an acrylic sheet, comment below and we’ll be happy to publish one for you!
Last but not least, Don’t forget to share this article with your friends and colleagues!
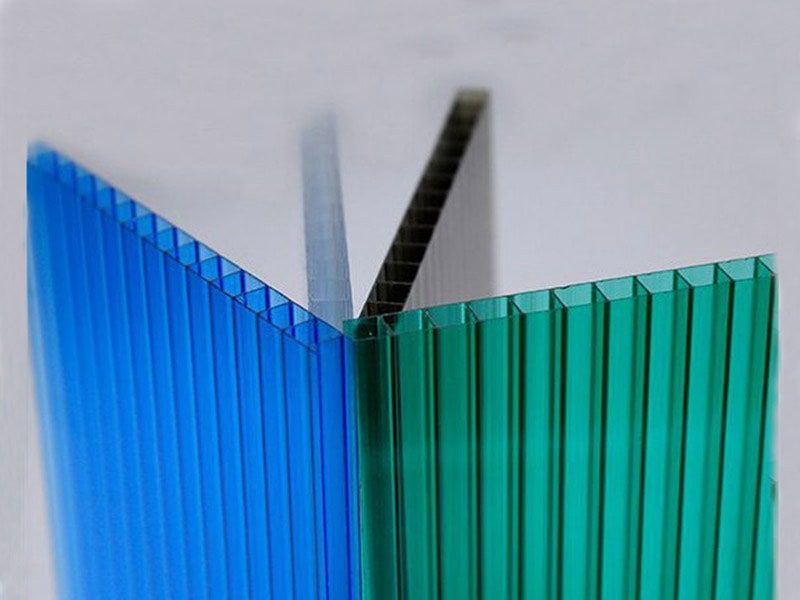
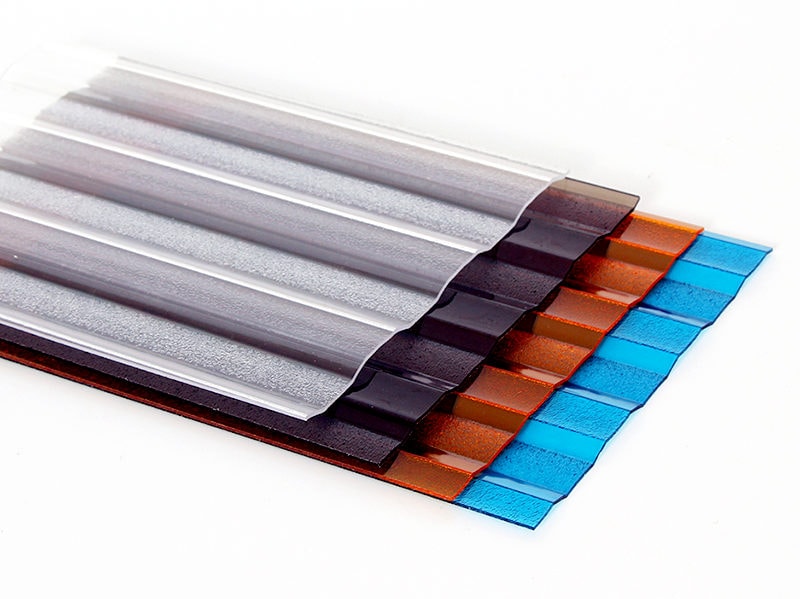
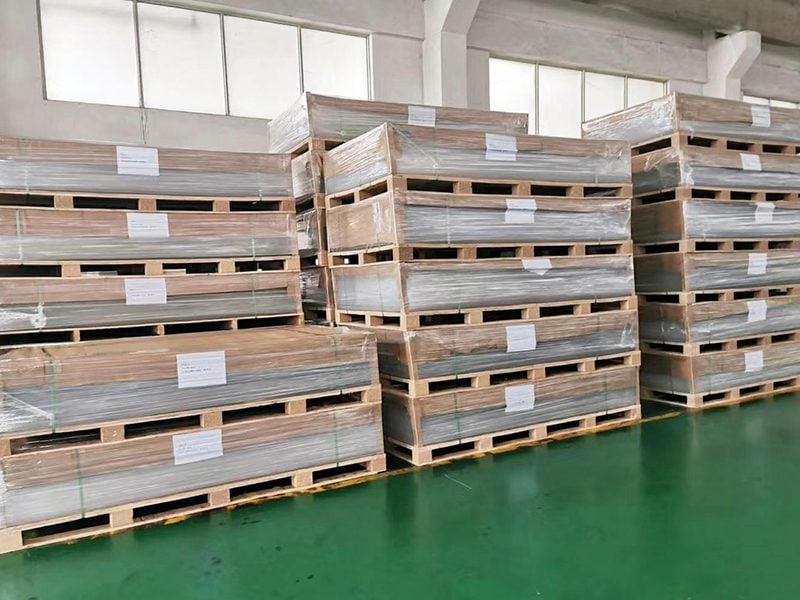
About UVPLASTIC
UVPLASTIC is a leading manufacturer of polycarbonate sheets, meantime, provides machining polycarbonate service. And UVACRYLIC, as a subsidiary of UVPLASTIC, which is a leading manufacturer of plexiglass sheets in China, what we can provide are not only high-quality plexiglass sheets but also the service of custom acrylic.